From the Dashboard, click Employee Management in the left-hand menu to expand the tab.
Step 2: Select Administrators
Click Administrators from the expanded Employee Management menu.
Step 3: View the Administrators Page
You will now be directed to the Administrators page.
Here, you can:
View all current Administrators
See what type of access they have
Edit existing Administrators
Add new Administrators
Step 4: Add a New Administrator
Click the + Add Admin button located in the top right corner of the page.
Step 5: Select an Employee
Choose an existing employee from the dropdown menu to assign as an Administrator.
Note: The employee must have an email address attached to their account in order to be added as an Administrator.
Step 6: Choose the Administrator Access Level
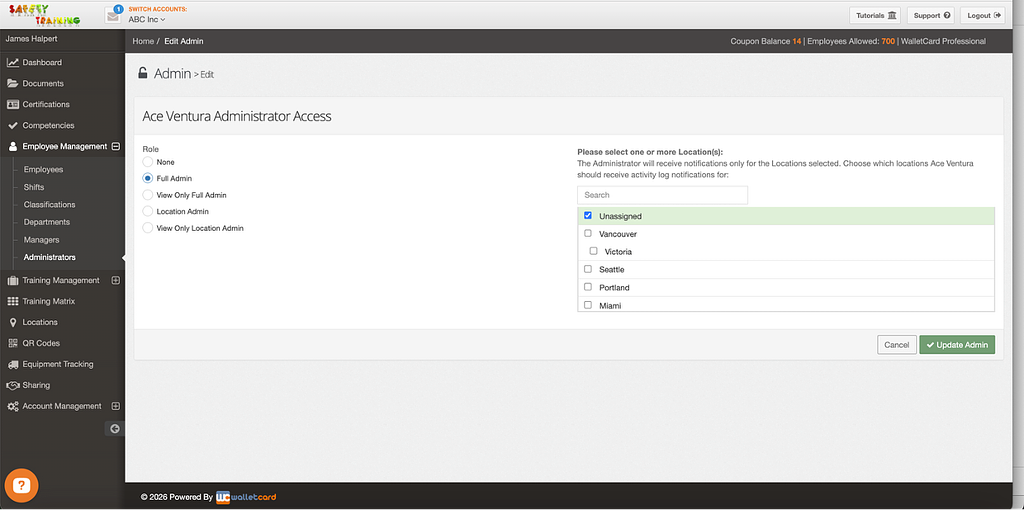
You will be directed to the Administrator Access page where you will select the appropriate access level.
There are four Administrator types available:
Full Admin
Has full access to the entire account and can view and make changes to all areas of the platform.
View Only Full Admin
Can view all data across the platform but cannot make any changes. This option is often used for individuals who need visibility but should not have editing permissions.
Location Admin
Has full access to view and make changes, but only for the selected location(s). For example, if your company has multiple offices, a Location Admin can manage the New York office but will not have access to modify the Los Angeles office.
View Only Location Admin
Can view all data for the selected location(s) but cannot make changes.
Step 7: Assign Locations (If Applicable)
If you select a Location-based Administrator role, choose one or more locations to assign.
The Administrator will receive notifications only for the selected location(s).
If no location is selected, the Administrator will receive notifications for all locations.image.png383 KB Step 8: Edit or Remove an Administrator